1954 18S preservation project (with lots of pictures)
- cfaber
- Posts: 346
- Joined: Mon Nov 20, 2017 5:37 am
- Location: USA, Colorado
- Contact:
Re: My new restoration project (with lots of pictures)
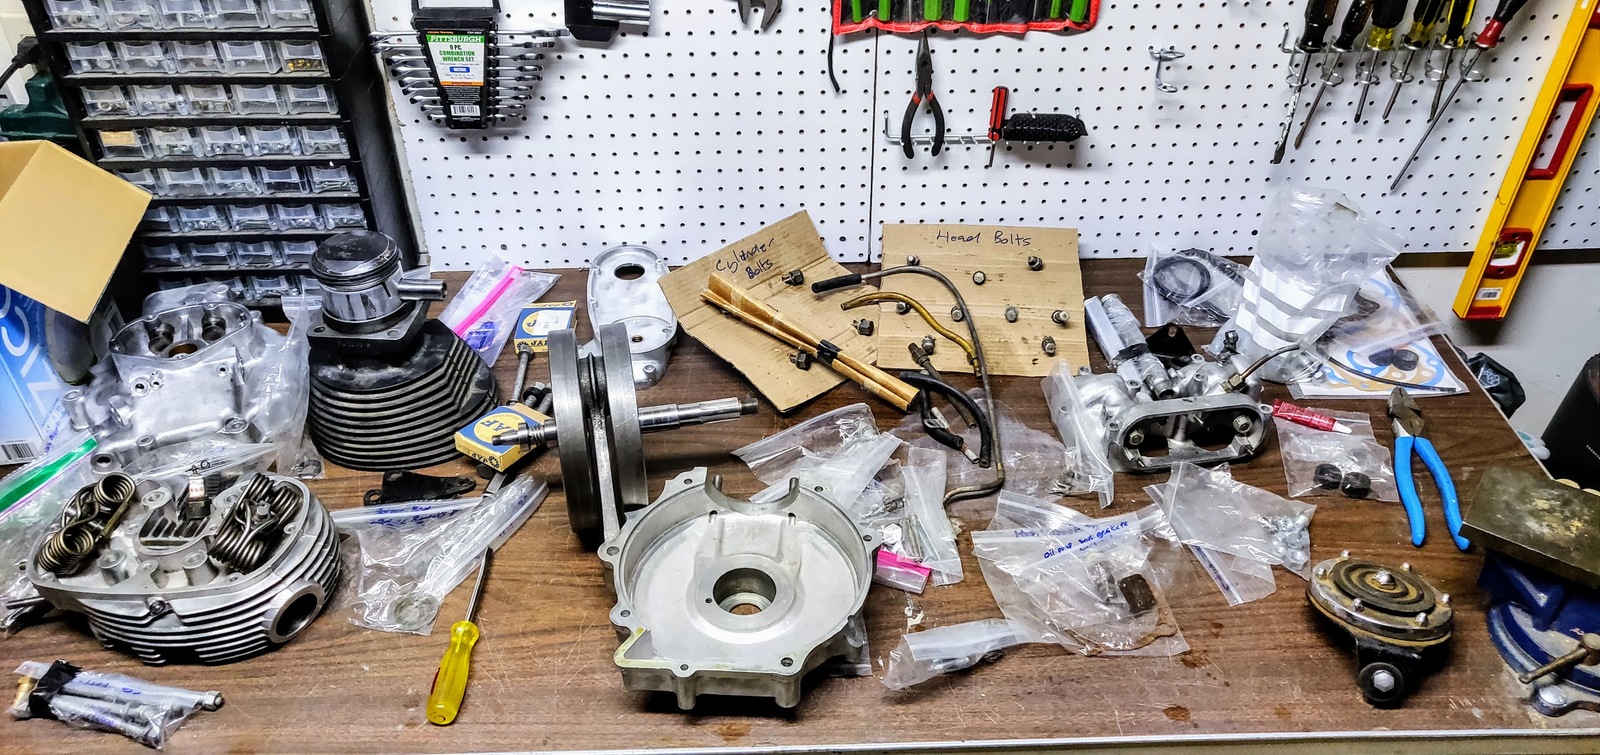
Those bolts must be for the passenger foot pegs.
Fix it until it's broken!
Otherwise how will
anything get done?
Otherwise how will
anything get done?
- cfaber
- Posts: 346
- Joined: Mon Nov 20, 2017 5:37 am
- Location: USA, Colorado
- Contact:
Re: My new restoration project (with lots of pictures)
Well, after some poking around I decided to replace the 41mm lucas amp gauge with the one on the '68 BSA B25 I picked up a while back. It's not exactly correct, but it's a hell of a lot closer than the Indian knock off I received from fleabay
Donated by
I'm not worried, I'm going to open up the hole on the BSA's headlamp bucket and use the Indian one, I'm planning on building a little cafe bike out of this thing anyways, so it's going to donate some parts to the AJS cause
Donated by
I'm not worried, I'm going to open up the hole on the BSA's headlamp bucket and use the Indian one, I'm planning on building a little cafe bike out of this thing anyways, so it's going to donate some parts to the AJS cause
Fix it until it's broken!
Otherwise how will
anything get done?
Otherwise how will
anything get done?
- robcurrie
- Member
- Posts: 956
- Joined: Fri Dec 09, 2011 5:33 pm
- Location: Limpopo SOUTH AFRICA
- Contact:
Re: My new restoration project (with lots of pictures)
Looking at the spare screws in the bag, the one at the bottom has marks that look like it clamped the kickstart lever.
Rob C
Rob C
- cfaber
- Posts: 346
- Joined: Mon Nov 20, 2017 5:37 am
- Location: USA, Colorado
- Contact:
Re: My new restoration project (with lots of pictures)
They're actually the passenger foot rest boltsrobcurrie wrote:Looking at the spare screws in the bag, the one at the bottom has marks that look like it clamped the kickstart lever.
Rob C
Fix it until it's broken!
Otherwise how will
anything get done?
Otherwise how will
anything get done?
- cfaber
- Posts: 346
- Joined: Mon Nov 20, 2017 5:37 am
- Location: USA, Colorado
- Contact:
Re: My new restoration project (with lots of pictures)
More progress today, this time on the wiring harness. Amazingly all of the ancient cloth wiring was in good shape, however as you can see, the rubberized stuff is failing
After some work, I managed to get all of the wiring needing to be replaced, replaced
I'm using fuel safe, marine grade cabling in the correct wire colors, for the bits of wire that are exposed, I've been able to clean off the labeling with a quick acetone wipe so they look correct. All of the fitting have been replaced and the only harness has been removed and saved for the future.
A side note, I needed to create a 4x 18GA cable to handle the high beam, low beam, and horn. The only problem I had was with the sleeve being slightly too small, I tried silicon lube, heat, etc. without much success. Then today I thought I would give this a shot.
Under pressure, I left the sleeve to bake under the Colorado sun, it worked well, too well and I ended up with this
But at least I was on the right track. My next attempt worked perfectly and opened up the I.D. of the sleeve just big enough to get all 4 wires in and it looks fantastic!
With all this work into such a simple harness, by the time it's done it will look original, just with modern materials technology
Fix it until it's broken!
Otherwise how will
anything get done?
Otherwise how will
anything get done?
- cfaber
- Posts: 346
- Joined: Mon Nov 20, 2017 5:37 am
- Location: USA, Colorado
- Contact:
Re: My new restoration project (with lots of pictures)
Well it's been a busy summer and the wife has had me working on all sorts of projects not related to the AJS. That said, I did manage to find a few minutes to service the front wheel. Pulled the tire, pulled the hub apart, etc. After getting it back together it still had a rattle, almost like a ball bearing rolling around in the brake case. After some time and various methods I was able to determine that the rattle was coming from the rim itself. I was able to fish out this
Which I think is either a weld bead, or a chunk of molten metal from the two holes punched in the rim bead (to allow water out?). I had to hang the wheel then using a pick and a magnet fish out this thing. It was not easy.
That said, it's finally not rattling anymore
Which I think is either a weld bead, or a chunk of molten metal from the two holes punched in the rim bead (to allow water out?). I had to hang the wheel then using a pick and a magnet fish out this thing. It was not easy.
That said, it's finally not rattling anymore
Fix it until it's broken!
Otherwise how will
anything get done?
Otherwise how will
anything get done?
-
- Posts: 17
- Joined: Sun Sep 09, 2018 11:27 am
- Location: Australia
Re: My new restoration project (with lots of pictures)
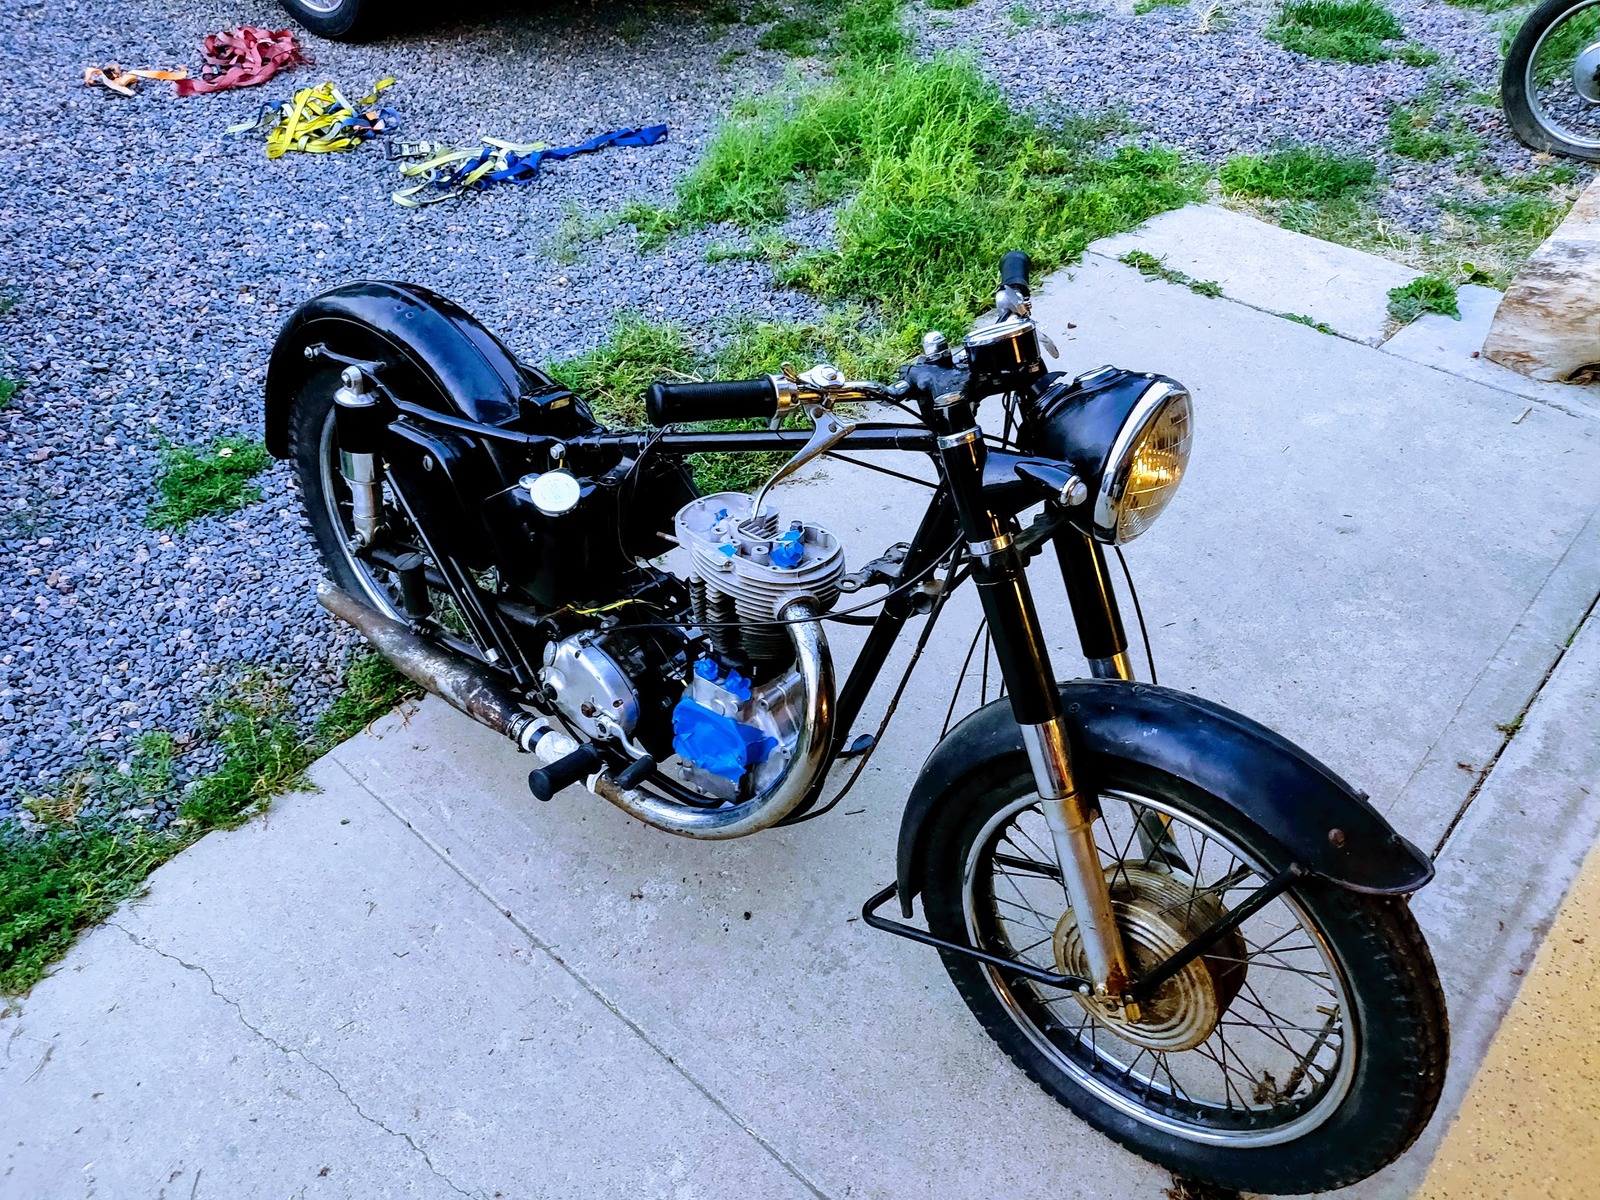
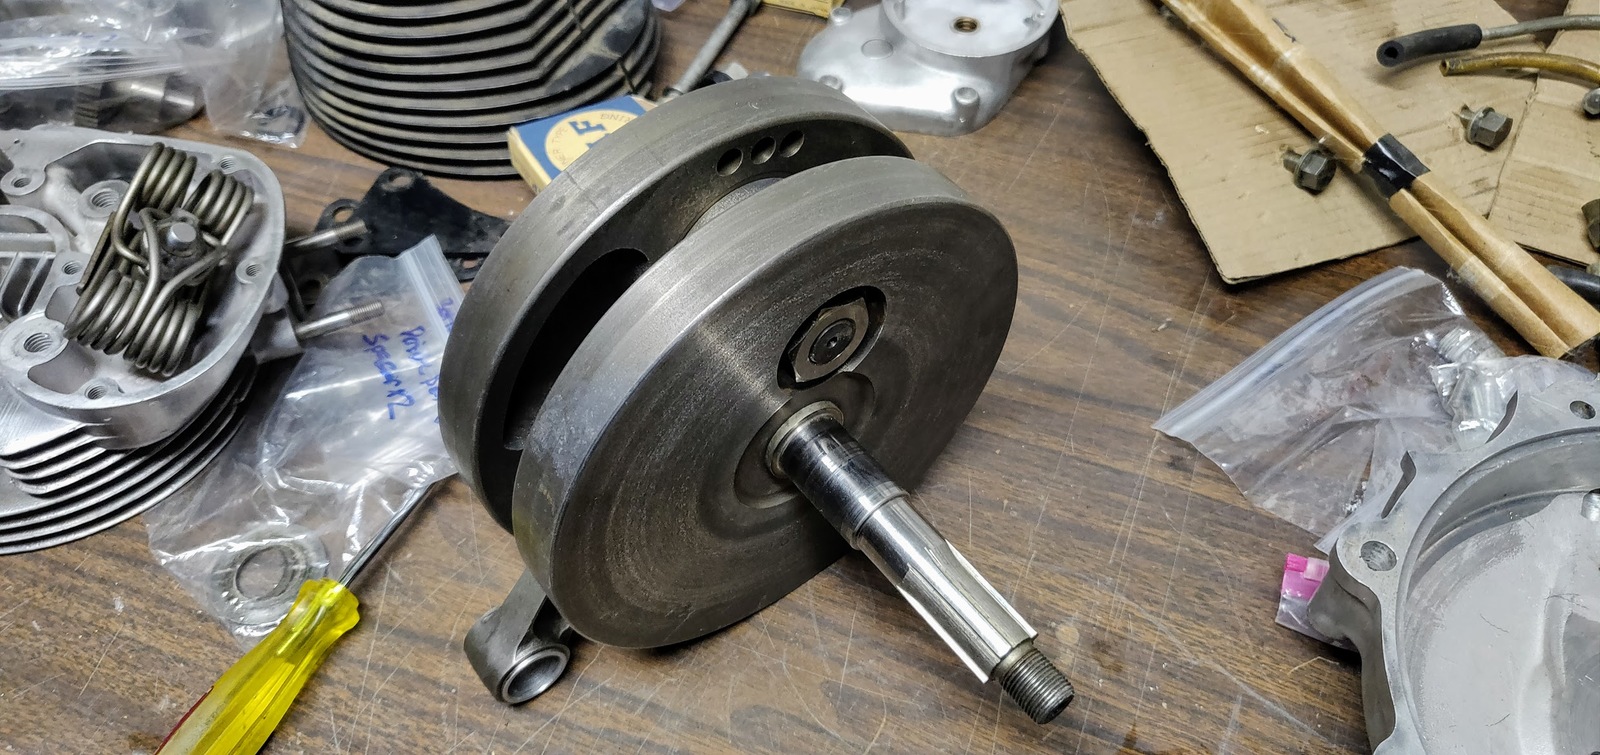
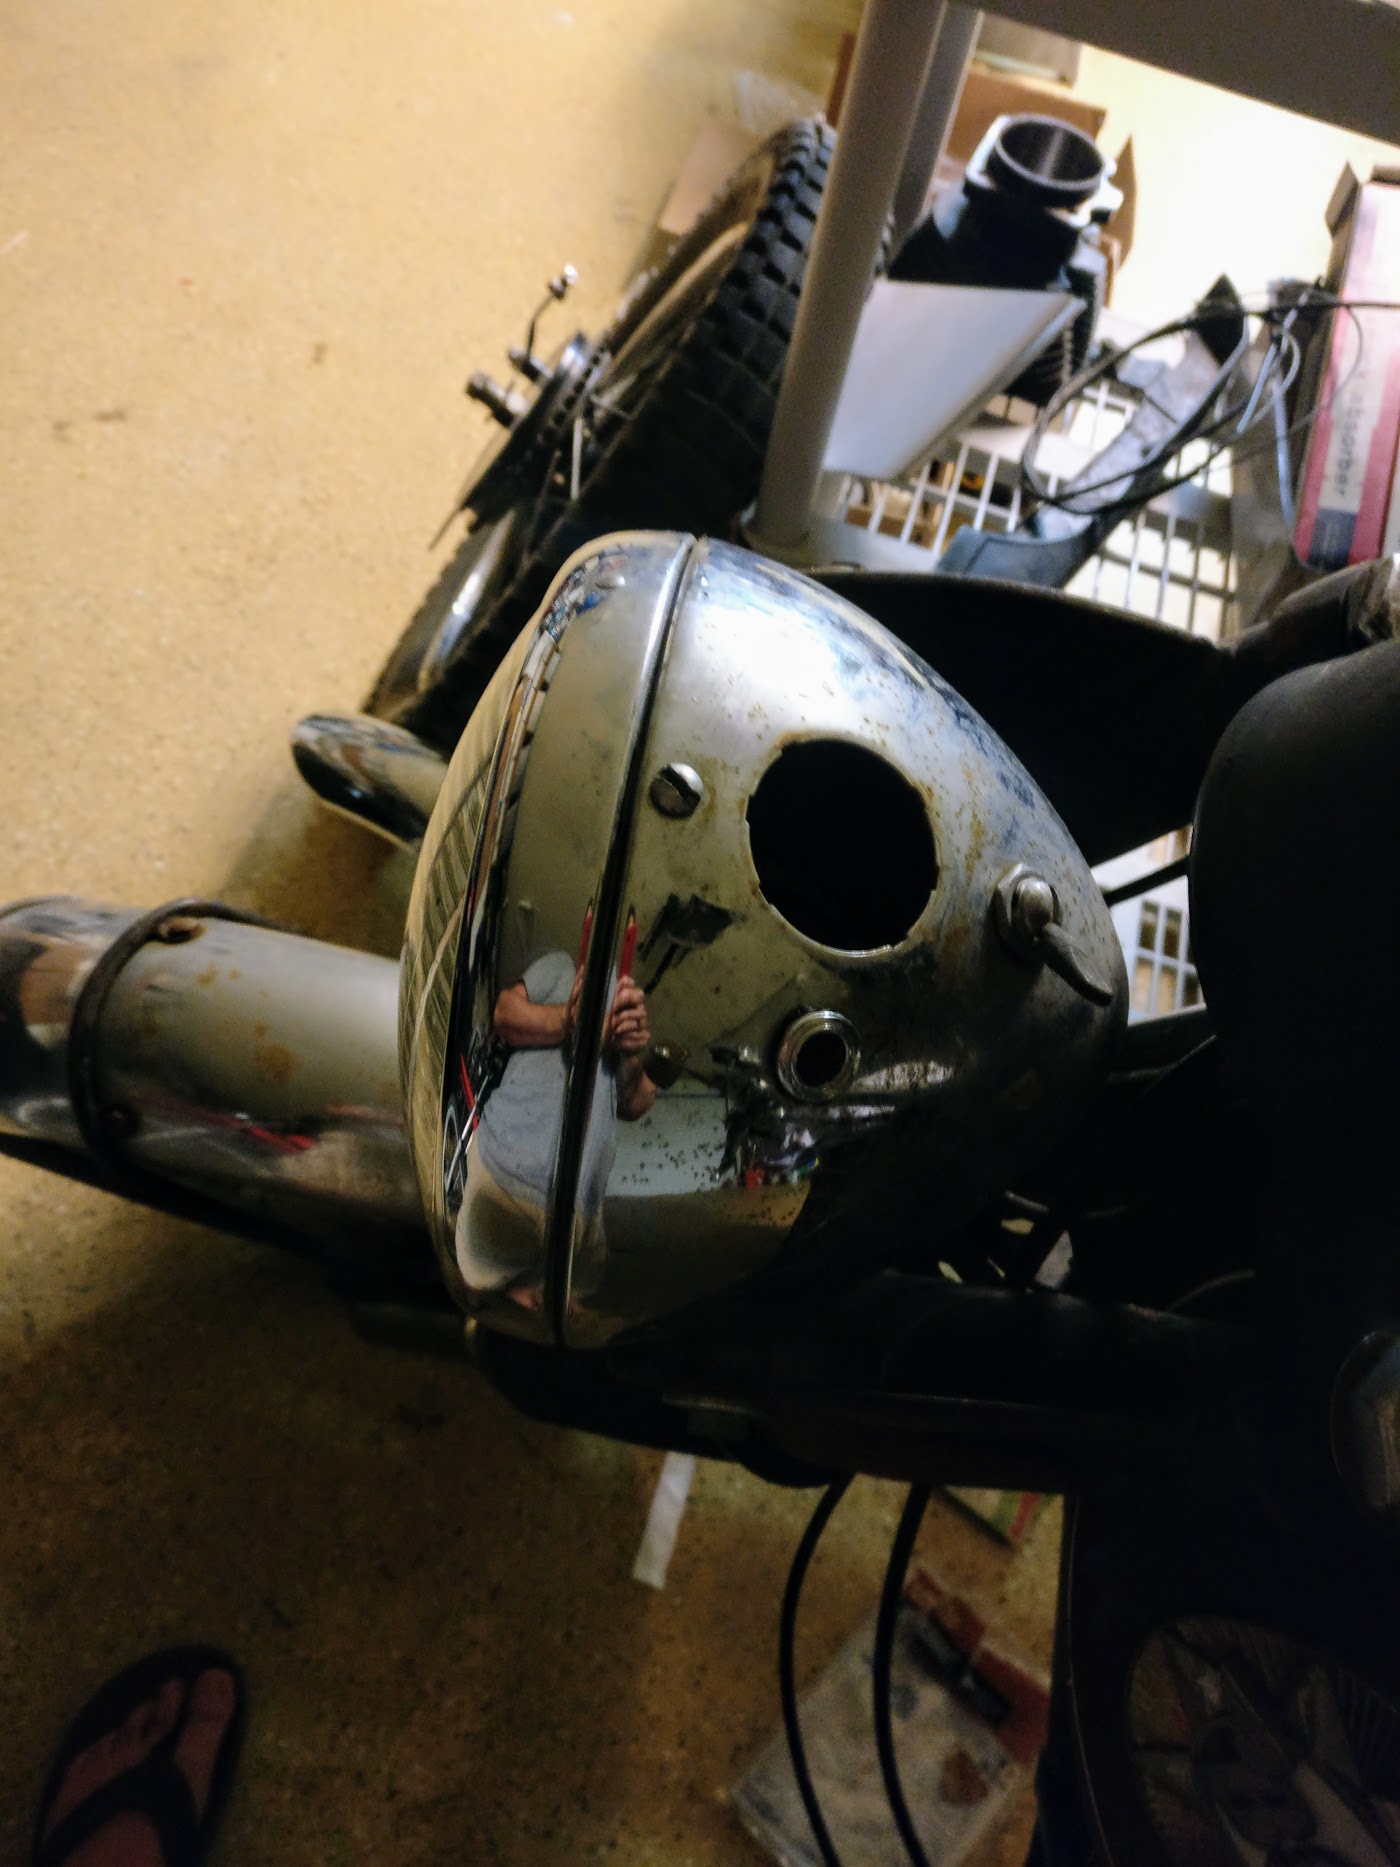
I now see how clean these should be for oil to flow back down into the engine. Cheers .cfaber wrote:Hey thanks for the response. I'm not sure what to do about the dent as in -- I don't know if I want to fix it and repaint it or not =) At least, not yet. I may try and knock it out as much as possible from the back side but I'm still just not sure. If I do fix it, I'll pull the dent and repaint the tank.
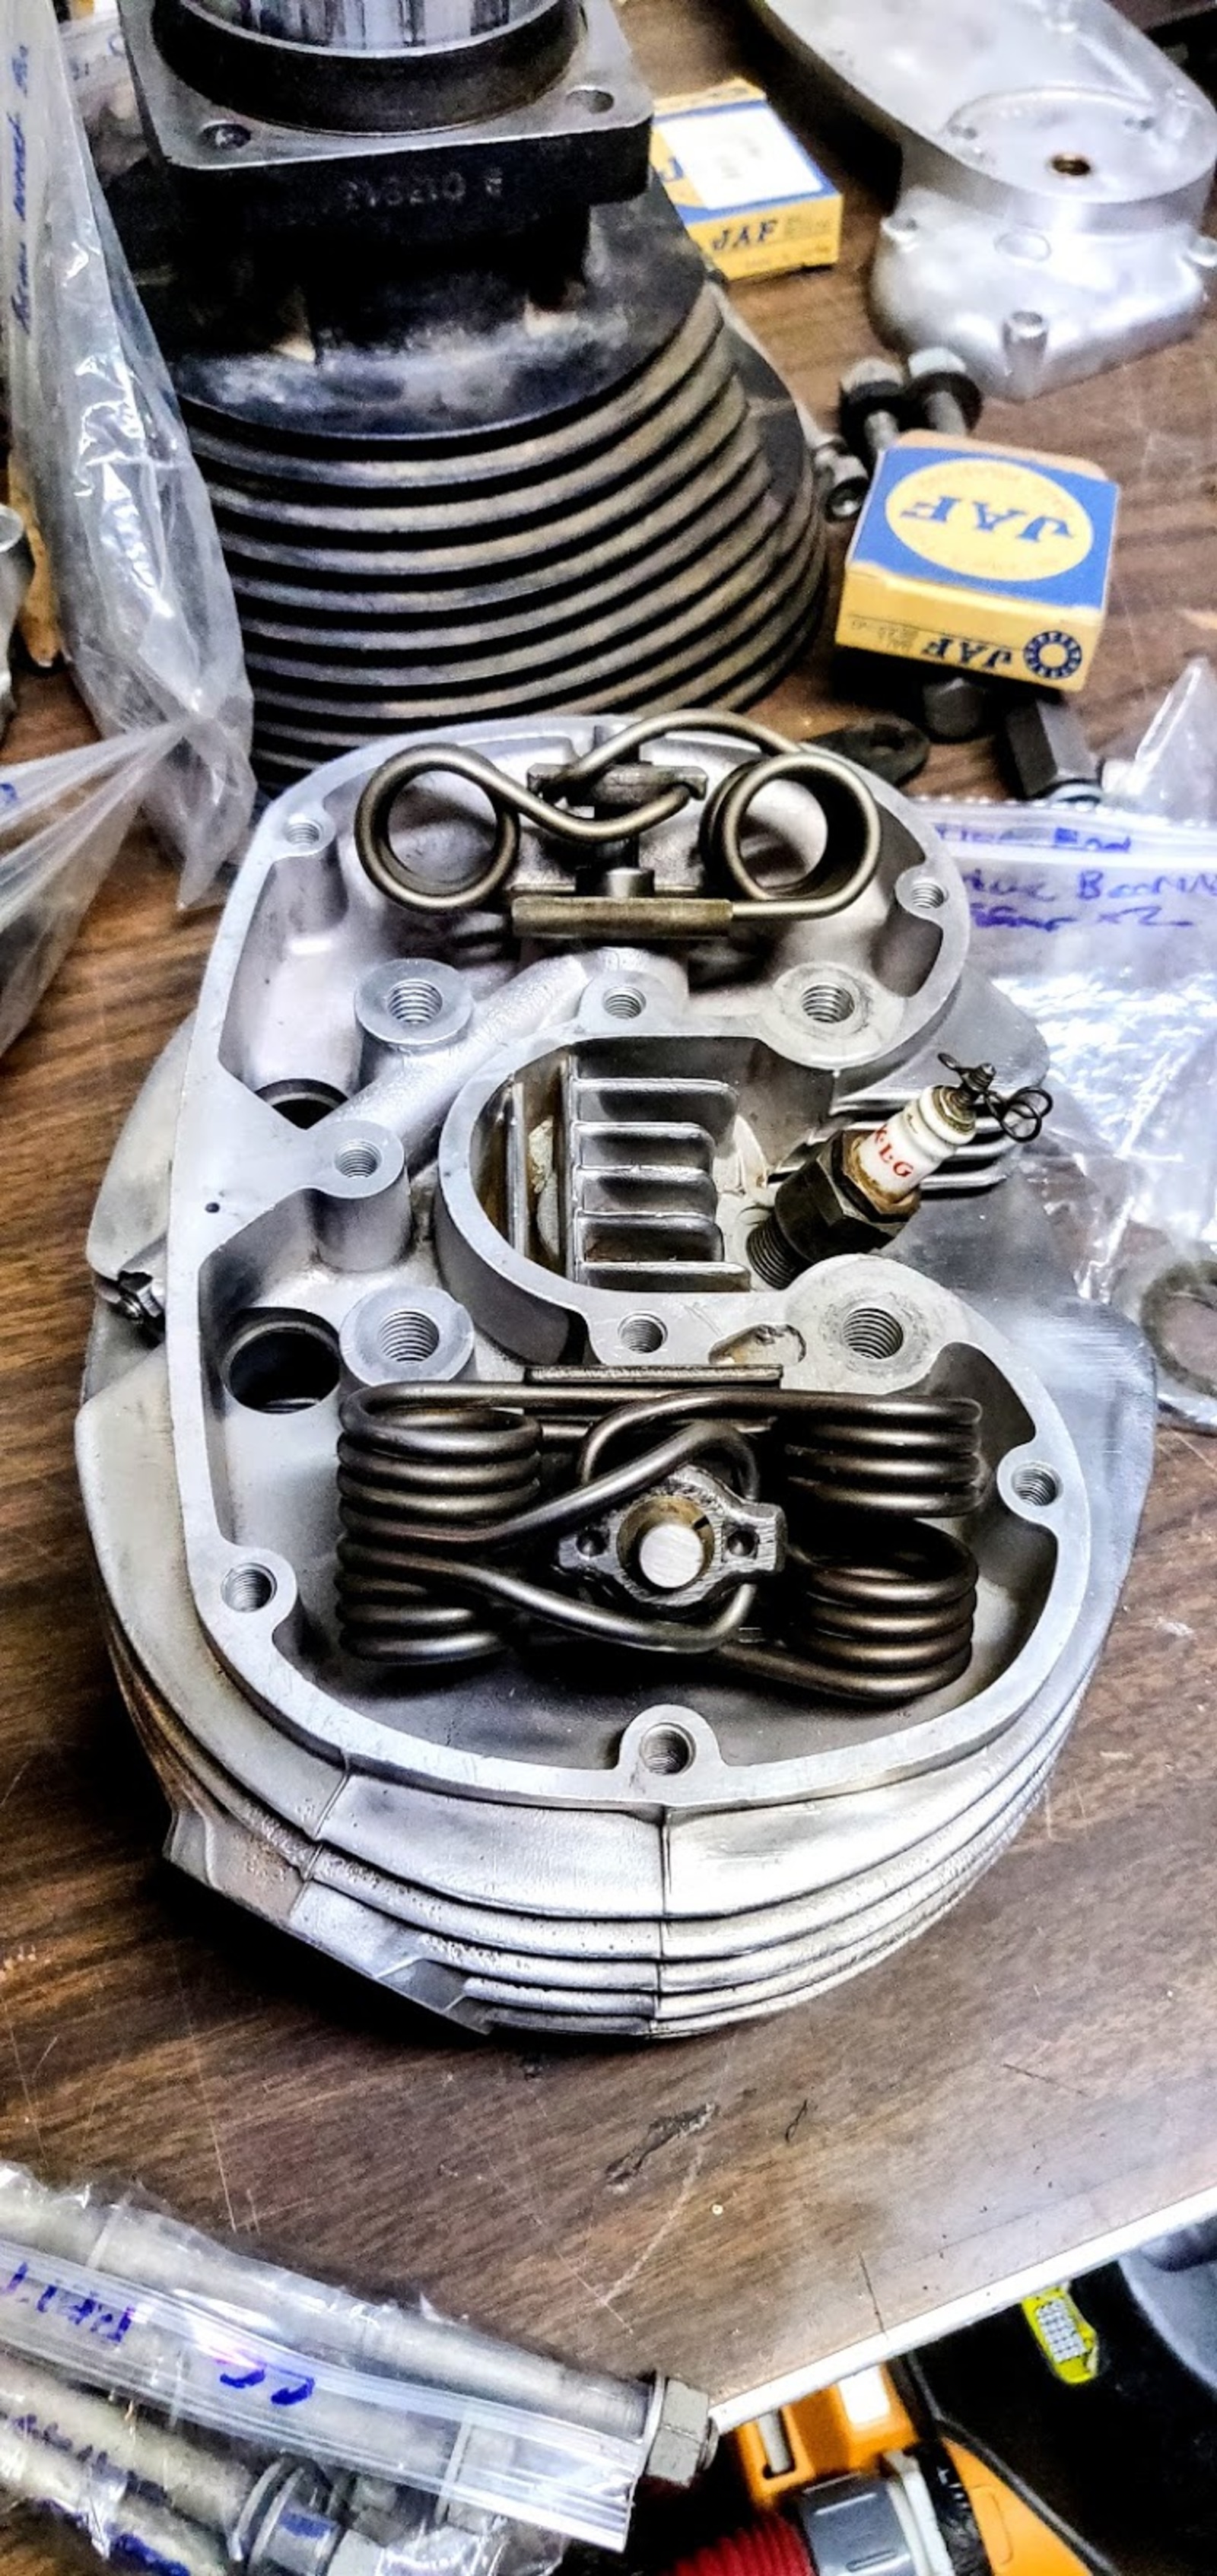
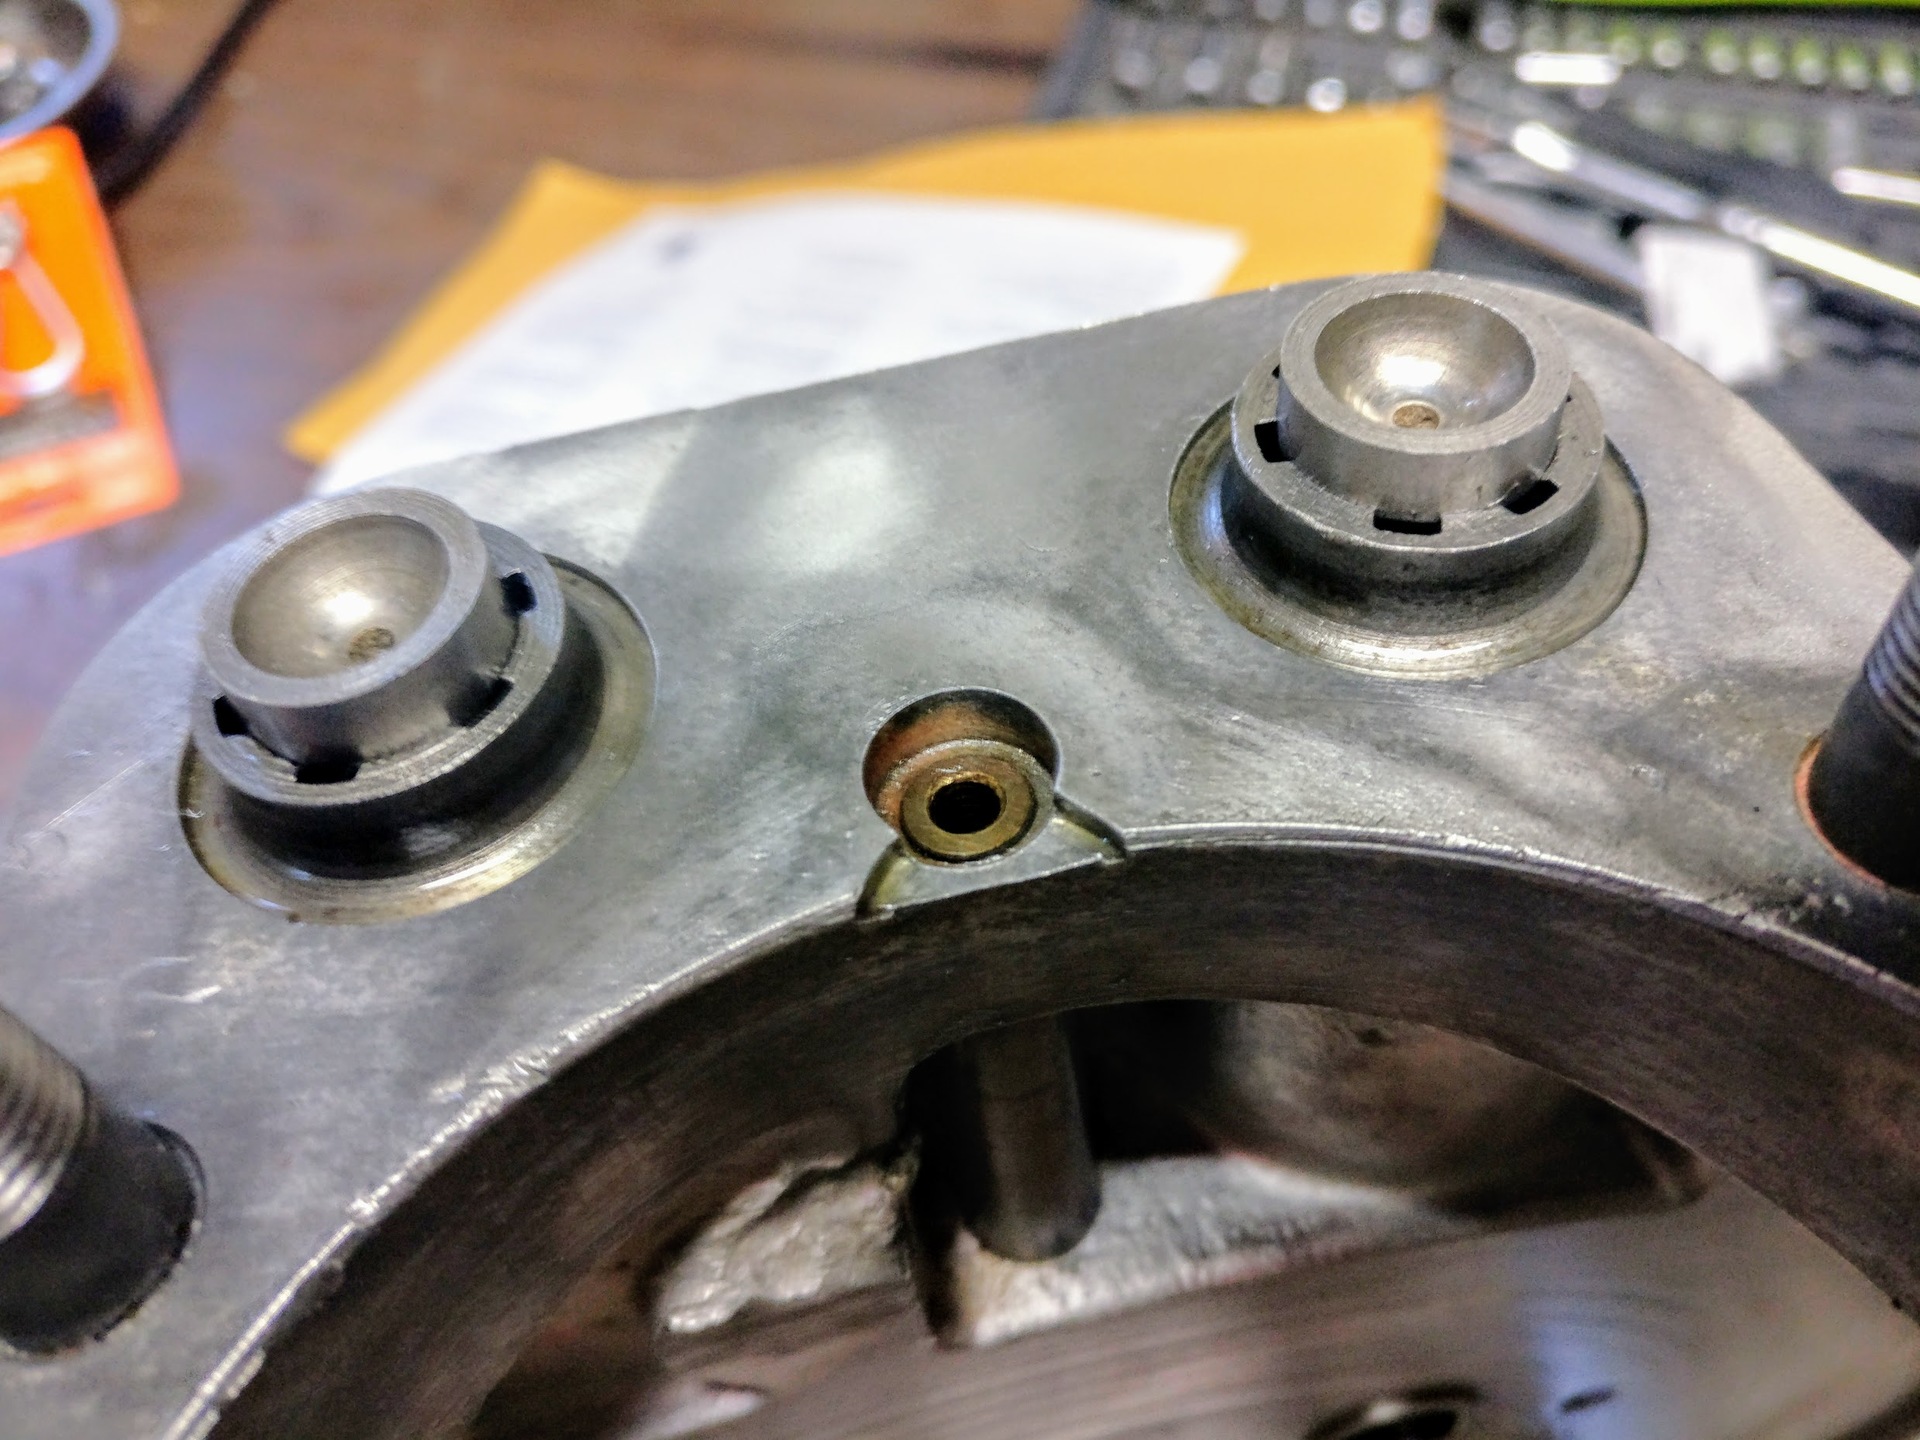
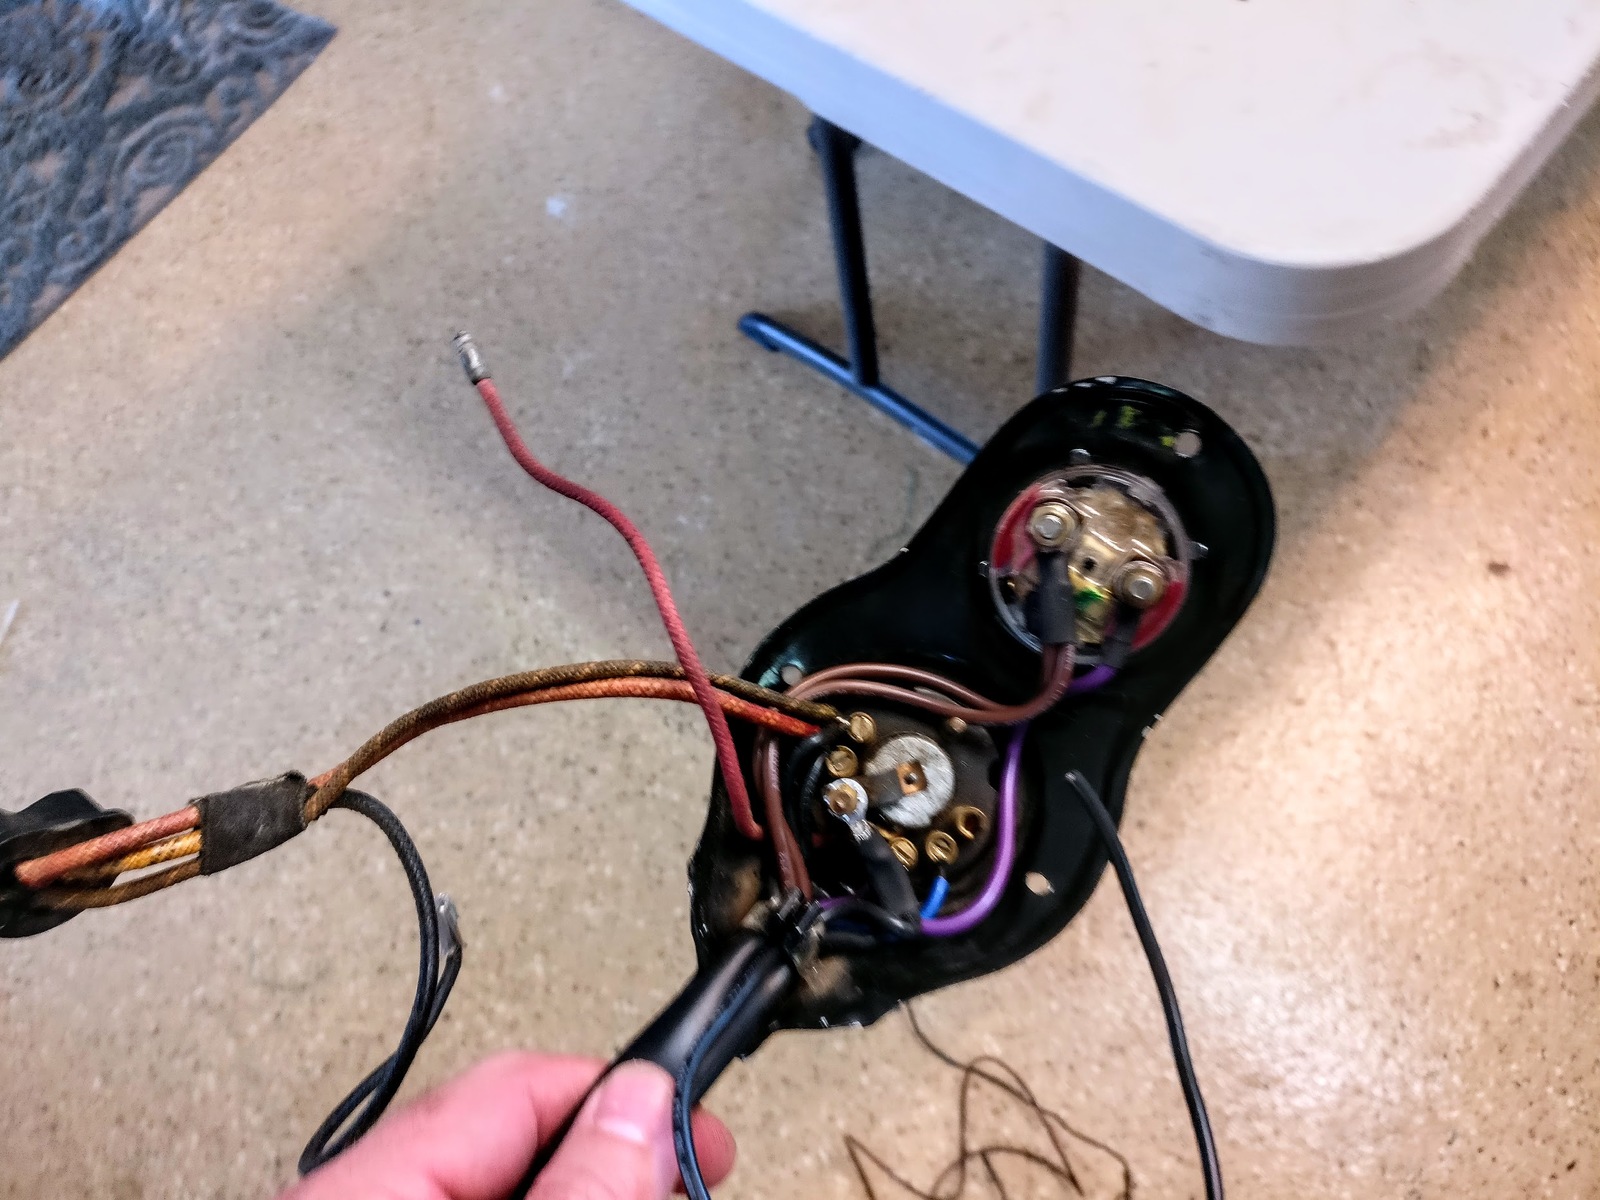
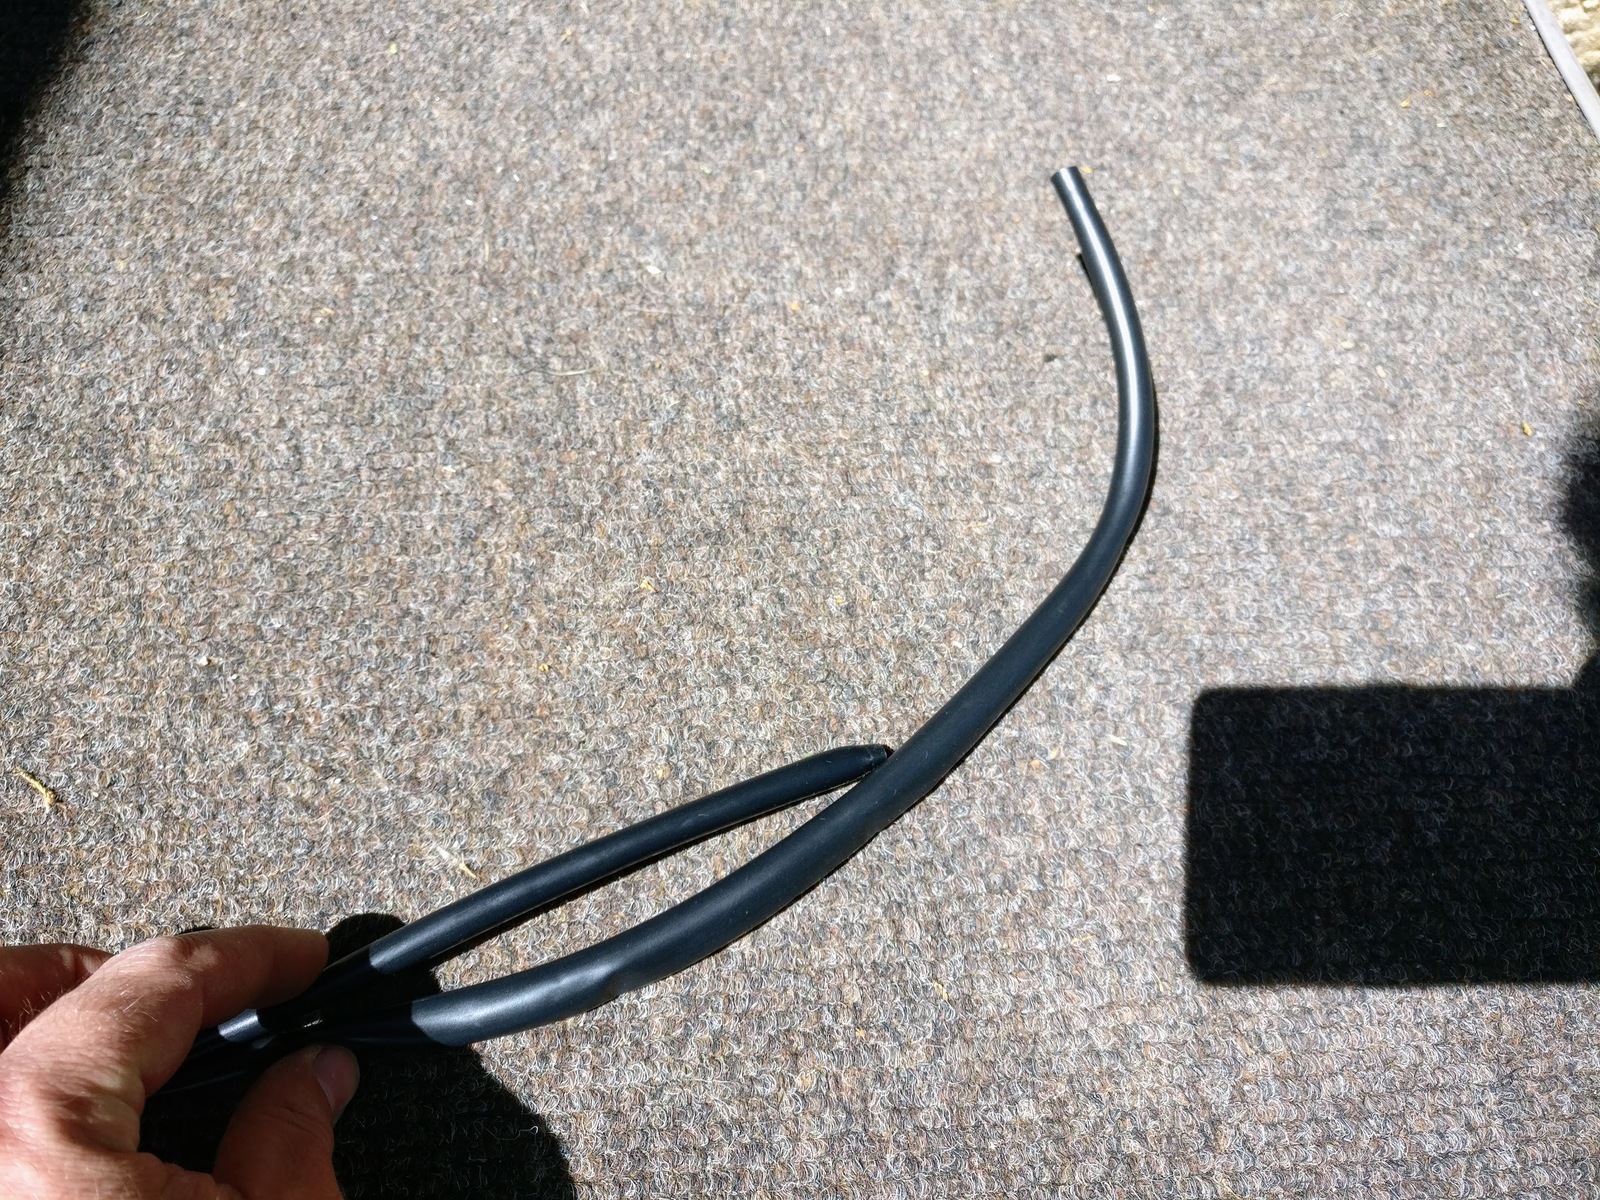
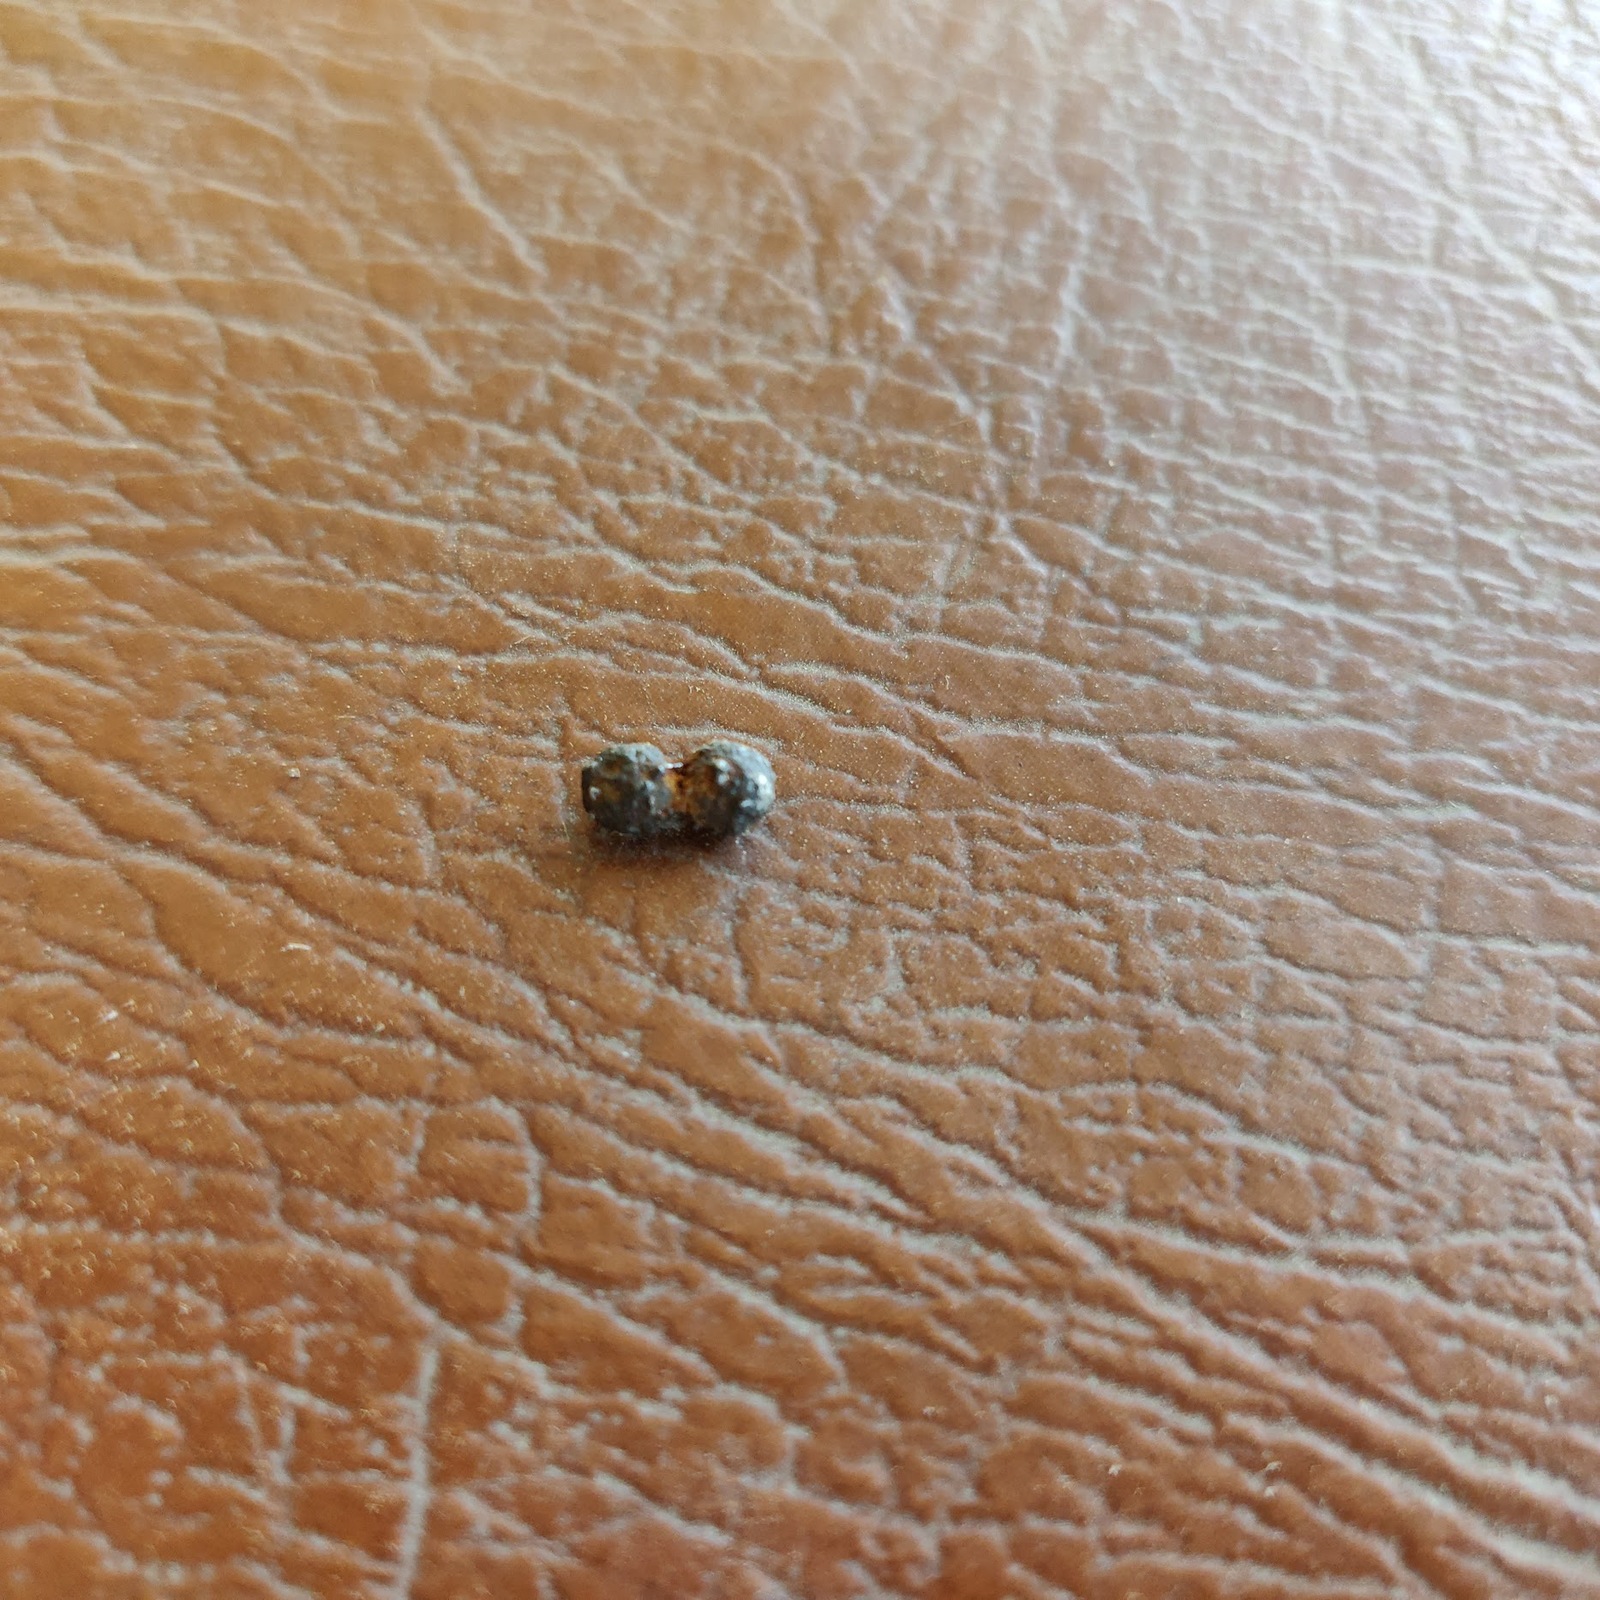
In other items, I want to verify what appears to be the check valve for the cylinder barrel lubrication system
Does anyone know how this is disassembled, tested / cleaned?
Cheers Ross.
My motorcycle blog..... http://rossmz.blogspot.com/
The chief enemy of creativity is common sense (Pablo Picasso)
My motorcycle blog..... http://rossmz.blogspot.com/
The chief enemy of creativity is common sense (Pablo Picasso)
- cfaber
- Posts: 346
- Joined: Mon Nov 20, 2017 5:37 am
- Location: USA, Colorado
- Contact:
Re: My new restoration project (with lots of pictures)
Yesterday I had the bike partially together to take to the local police department to verify that there is no US VIN on the bike and snapped this shot
Fix it until it's broken!
Otherwise how will
anything get done?
Otherwise how will
anything get done?
- cfaber
- Posts: 346
- Joined: Mon Nov 20, 2017 5:37 am
- Location: USA, Colorado
- Contact:
Re: My new restoration project (with lots of pictures)
My machinest buddy finally had some time to work on my projects this last week and managed to complete the work on the crank, piston, and head (which was all that I was waiting on). So now it's time to pull all the old, and new parts out and start reassembly of the motor
The crank was disassembled completely, rollers checked, pins checked, and the oil galleries were all cleaned out, reassembled and balanced.
The head was totally disassembled, cleaned, and all oil galleries cleaned out.
Additionally the valve seats were ground, and valves lapped against the freshly ground seats which makes for a very nice seal
Next step is to reassemble the bearing set on the sprocket side. which I'll try and get to next week sometime.
Fix it until it's broken!
Otherwise how will
anything get done?
Otherwise how will
anything get done?
- spookefoote1956
- Member
- Posts: 1863
- Joined: Mon May 01, 2017 7:32 pm
- Location: Wales Innit
Re: My new restoration project (with lots of pictures)
Tasty
Hail Joe Lucas ............ Prince of Darkness!
All my bikes are original........ to me!
"Creativity is your intelligence having fun" Albert Einstein
All my bikes are original........ to me!
"Creativity is your intelligence having fun" Albert Einstein